Use Case Scenario
This use case demonstrates the different steps required to execute an authorization code flow with user interactions.
This use case demonstrates the different steps required to execute an authorization code flow with user interactions.
The client is already registered through dynamic client registration (client credentials grant usage example) or configured as a static client in the configuration (Configuration of IAM as OAuth Authorization Server / OpenID Provider
To start the authorization code flow, open a browser window and enter the following URL:
Browser URL to start an authorization code flow
https://oidc.airlock.com/auth-login/oauth2/v3/myAS/authorize?
    response_type=code    &redirect_uri=https://oidc.airlock.com/application/demo
       &client_id=oidc-client
    &state=ee26b0dd4a...28a8ff
    &scope=employee%20openid
If one of the conditions is not met, the authorization server will return an error message in the browser.
Submitting the state parameter is not required by the standard, but it is strongly recommended to protect against CSRF.
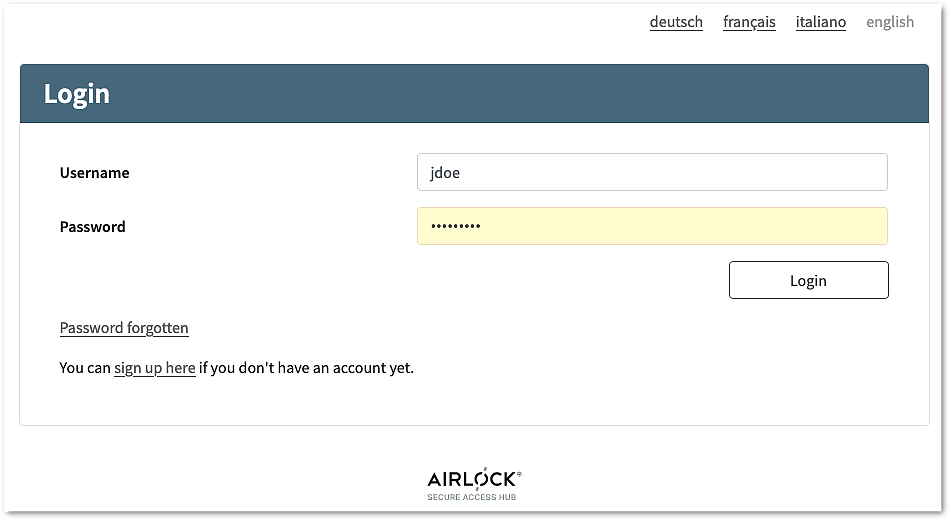
Airlock IAM will present a login screen:
... and optionally ask for consent:

If both authentication and consent grants have succeeded, Airlock IAM will redirect the browser to the redirect_uri requested that was provided in step 1. The redirect URI contains the authorization code.
Redirect URI with authorization code:
https://oidc.airlock.com/application/demo?
     code=xRbH9uoaMMWB6urmWsg8b1xwJQF~JfD2s9CoUvwVWX42YxBwqfeC2RVWeG1HkvkdtxHz
     &state=ee26b0dd4a...28a8ff
Note that with this request the authorization code is sent to the relying party (client).
The relying party (client) receives the authorization code and sends it to the AS to get the ID, access, and refresh tokens. Note that the following request is not sent by the browser but by the relying party.
Token endpoint request (sent by RP/client and not by the browser)
https://oidc.airlock.com/auth-login/rest/oauth2/authorization-servers/myAS/token
application/x-www-form-urlencodedBasic dXNlcm5hbWU6cGFzc3dvcmQgrant_type=authorization_codecode=xRbH9uoaMMWB6urmWsg8b1xwJQF~JfD2s9CoUvwVWX42YxBwqfeC2RVWeG1Hkvredirect_uri=https://oidc.airlock.com/application/demoIt is recommended to configure the authorization server, to enforce authentication on the token endpoint.
The authorization server will respond as follows:
Code Block token endpoint response
200 OK
 {
    "access_token": "eyJraWQiOiI3YWRmMz...E9nfs7YyJZdRFP",
    "scope": "email",
    "id_token": "eyJraWQiOiI3YWRmMzgp74...Ex86vUkyMGqxQg",
    "token_type": "bearer",
    "expires_in": 17999
 }