To activate the changed configuration, click on the Activate icon in the toolbar:
- In the toolbar, click on the Activate icon:
- In the opening dialog, the configuration is validated. If the configuration is not valid, abort the activation by closing the dialog (press the Escape button on your keyboard or close the dialog window). Airlock IAM will continue running with the old (last valid) configuration.
- Enter a useful comment before saving the configuration.
- In section Deployment Status, click on the Go Live! icon. The activation may take some seconds and the deployment progress is shown.
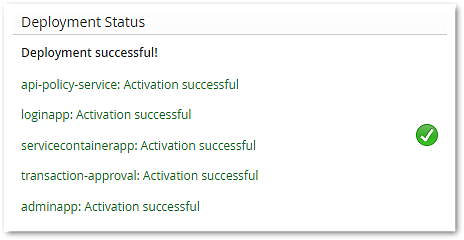
- The new configuration is now activated and a summary of the deployment steps is displayed.


