Customizing texts of the Transaction Approval module is done in *.properties files.
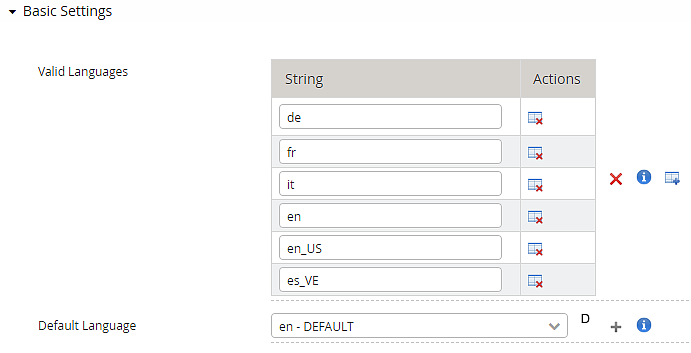
- The following languages are already included with each IAM installation and upgrade:
- German
- English
- French
- Italian
Customizing texts of the Transaction Approval module is done in *.properties files.
We recommend creating empty property file(s) to prepare for text changes.
With Airlock IAM 8.0 and later, ISO/IEC 8859-1 (aka Latin-1) encoding for *.properties files is no longer supported. Property files must be UTF-8 encoded.
strings_de.properties, strings_en.properties (and so on) in the directory ./instances/common/transaction-approval-texts/.strings_de.properties, strings_en.properties (and so on) in the directory ./instances/common/transaction-approval-texts/.After creating empty language property file(s), copy the required template texts from one of the original strings_*.properties files, e.g. from the strings_en.properties file. Copy the resource keys (e.g. authentication.email.otp.subject) including the corresponding template text.
app/transaction-approval/WEB-INF/classes/strings_en.properties for English template texts."Your security code: ${TOKEN}").Do not make changes to the original strings_*.properties file, i.e. do not make any changes to the original template files as these files will be overwritten without notice during updating and installation procedures. Only add those text elements to the newly created properties files, which should be customized, not all text elements.
New languages can be added by creating additional language property files.
strings_*.properties with the 2-letter country code based on an existing properties file. The common way to add a new language is to copy and rename the strings_en.properties for translation.Example: