Customizing non-UI-related text elements in the Loginapp REST API

  1. There are two kinds of text elements. One is used by the Loginapp REST API and one by the UI:
  2. For (Loginapp) text elements displayed in the browser, see Customizing Loginapp UI texts and changing translations with the Loginapp Design Kit.
  3. Text elements used for ​non-UI-related​ texts (such as email, SMS, or Cronto texts not shown in the browser, etc.). This article is about these types of text elements.

Customizing texts of the Loginapp REST API module is done in *.properties files. New language property files can be created for all or specific instances.

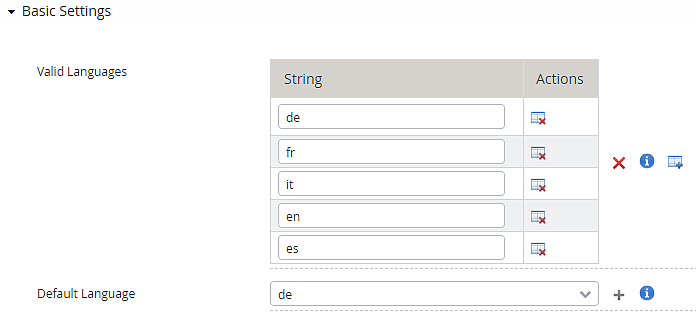
  • The following languages are already included with each IAM installation and upgrade:
  • German
  • English
  • French
  • Italian

Step 1 – Create new property files

We recommend creating empty property file(s) to prepare for text changes.

With Airlock IAM 8.0 and later, ISO/IEC 8859-1 (aka Latin-1) encoding for *.properties files is no longer supported. Property files must be UTF-8 encoded.

  • For all installed IAM instances:
  • Create the files strings_de.propertiesstrings_en.properties (and so on) in the directory ./instances/common/loginapp-texts/.
  • For a specific IAM instance:
  • Create the files strings_de.propertiesstrings_en.properties (and so on) in the directory ./instances/<instance-name>/loginapp-texts/.

Step 2 – Copy resource keys and texts from the original language property files

After creating empty language property file(s), copy the required template texts from one of the original strings_*.properties files, e.g., from the strings_en.properties file. Copy the resource keys (e.g. authentication.email.otp.subject), including the corresponding template text.

  1. In the IAM installation folder, go to:
    app/loginapp/WEB-INF/classes/
  2. Use a text editor to open the corresponding language file, e.g. strings_es.properties to customize English texts.
  3. Find and copy the desired existing element by searching for its key, e.g. public-self-service.email.otp.body.
  4. Paste the copied line into the corresponding empty string-property file (see Step 1.) and adapt the copied wording as required.
  5. Do not make changes to the original strings_*.properties file, i.e. do not make any changes to the original template files as these files will be overwritten without notice during updating and installation procedures. Only add those text elements to the newly created properties files, which should be customized, not all text elements.

  6. The changes are applied automatically after 30 seconds.

Adding a new language

New languages can be added by creating additional language property files.

  1. Add a new strings_*.properties with the 2-letter country code based on an existing properties file. The common way to add a new language is to copy and rename the strings_en.properties for translation.
  2. Translate the resource keys in the new language properties file.
  3. Save the new properties file for specific or all IAM instances. See Step 1 for the storage path.
  4. Add the new language in the Config Editor under Loginapp >> Language Settings in the list of Valid Languages.
    • Example:

      Language Settings

    Note that depending on the used feature set, there may be other points in the configuration where the new language must be added (e.g., for language choice in user registration self-service or user management in the Adminapp).