The application portal is a web UI in the loginapp that displays accessible applications and services to the end-user. It may be used as starting point after login and is implemented as a protected self-service.
The application portal is a web UI in the loginapp that displays accessible applications and services to the end-user. It may be used as starting point after login and is implemented as a protected self-service.
The application portal is implemented as a protected self-service feature of the Loginapp UI. There is no public REST API for the portal.
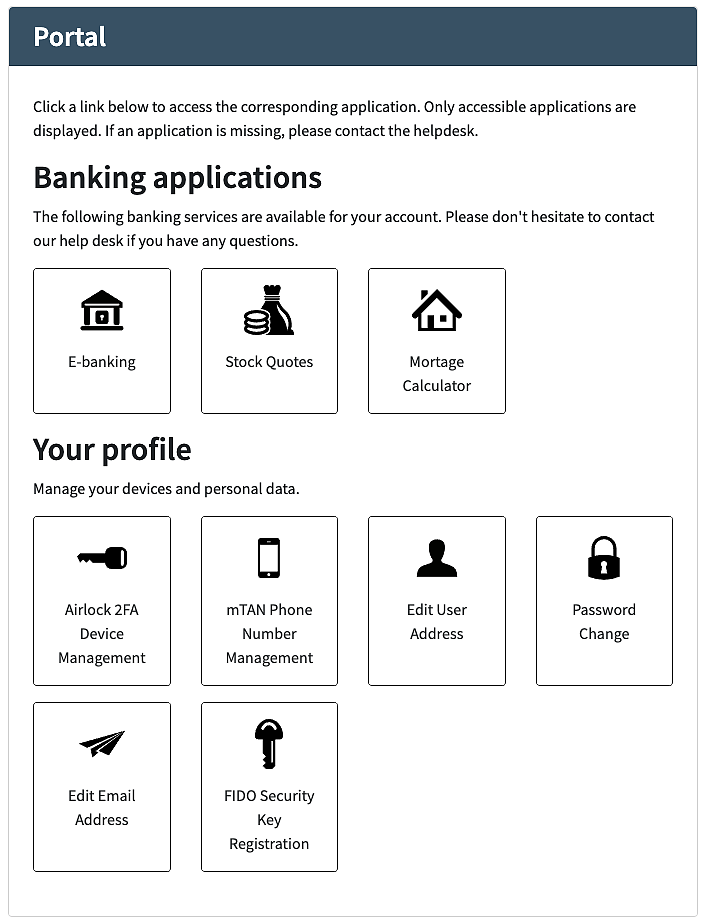
The portal displays the following elements:
Application Portal Group | An Application Portal Group holds together an ordered list of Application Portal Targets. Each group has an identifier that is used to look up the translations for the title and the description of the group. Groups and portal targets are displayed in the order defined in the configuration. Empty groups, i.e., groups with no displayable portal targets are not shown. |
Application Portal Targets | Each Application Portal Target represents an application or service to be displayed. It is displayed with a logo and a name. Both are determined based on the configured identifier. Portal targets are only displayed if the corresponding configured precondition is fulfilled. Typical preconditions check for:
|
The Application Portal Targets are not directly linked to the target applications in the authentication flow – only target applications explicitly configured in the application portal are shown.
To display the portal after successful authentication, the UI configuration of the corresponding authentication flow(s) needs to be adapted.
/auth/ui/app/protected/portal)The portal is typically shown to the user, if no specific target application is accessed or if the URL the user attempted to access is not allowed.
To achieve this, simply apply the above configuration steps for the default application. The default application's ID is defined in Loginapp >> Applications and Authentication.
To provide the text elements for portal groups and target applications, use the Loginapp Design Kit.
The identifiers chosen in the configuration are used as in the following example (src/assets/custom/i18n/en.properties):
# title for group with identifier "banking-apps-group"
protected.application-portal.group.banking-apps-group.title = Banking applications


# description for group with identifier "banking-apps-group"
   protected.application-portal.group.banking-apps-group.description = Here goes your text.

# label of application with identifier "ebanking"
protected.application-portal.group.banking-apps-group.target.ebanking.title = E-banking
To change the application logos shown in the application portal, use the Loginapp Design Kit.
The logos displayed in the portal are implemented as background images on the corresponding HTML elements. The background image can be set by applying custom styles to change the logo for a target application.
The application identifier chosen in the configuration is used as in the following example (src/sass/custom/_custom-styles.scss):
// logo for application portal with id "ebanking"
#iamApplicationPortalTarget-ebanking > .iam-application-portal-target-link > .iam-application-portal-target {
	background-image: url(custom-asset('img/bank-logo.svg'));
}